In my last post, I told you about going to the Nantucket Lightship Basket Museum and meeting Nancy Chase, an 81-year-old Nantucket native who does ivory carvings for the tops of Nantucket lightship baskets and more.
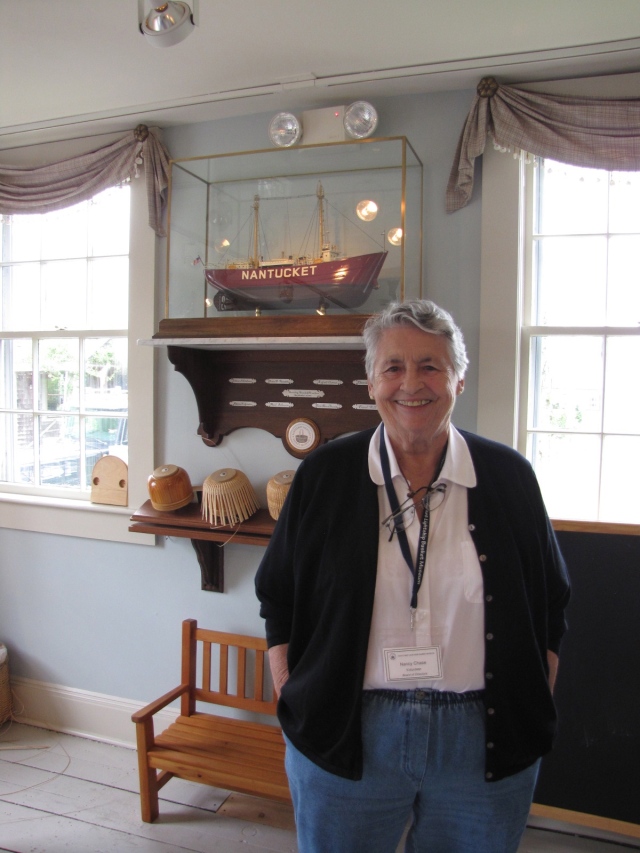
Nancy Chase
When I met Nancy, I said, “‘Chase.’ That’s an old Nantucket name. Are you one of those Chases?” When she said “Yes,” I can tell you that, as someone who loves American history and especially Nantucket history, my hair stood on end. Nancy is a descendant of Joseph Chase who came to this island in the early 1700s. On an island that was settled by whites in 1659, it almost doesn’t get older than that when we are talking about their history. One of her ancestors, Owen Chase, survived the wreck of the whale ship Essex, which was sunk by a whale and served as the inspiration for Herman Melville’s Moby Dick.
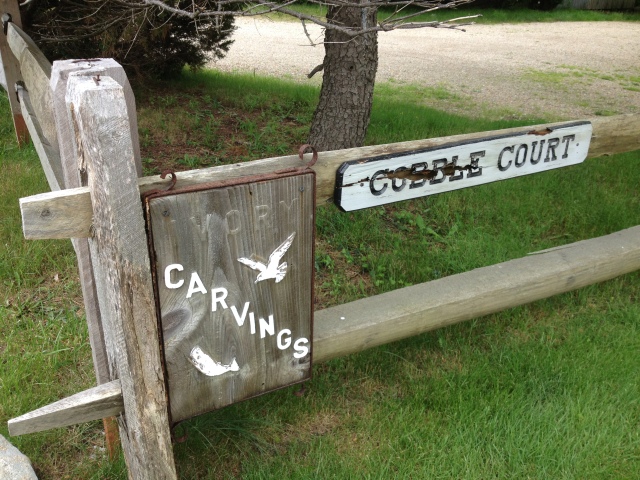
The very easy to miss sign for Nancy’s studio
Nancy was a joy to meet and talk to while touring the Lightship Basket Museum, where she is featured in an informational film about the craft and has some works in the display cases. But what was truly wonderful was she extended an invitation for me and my husband Terry to come to her studio on Cobble Court just across from the high school.
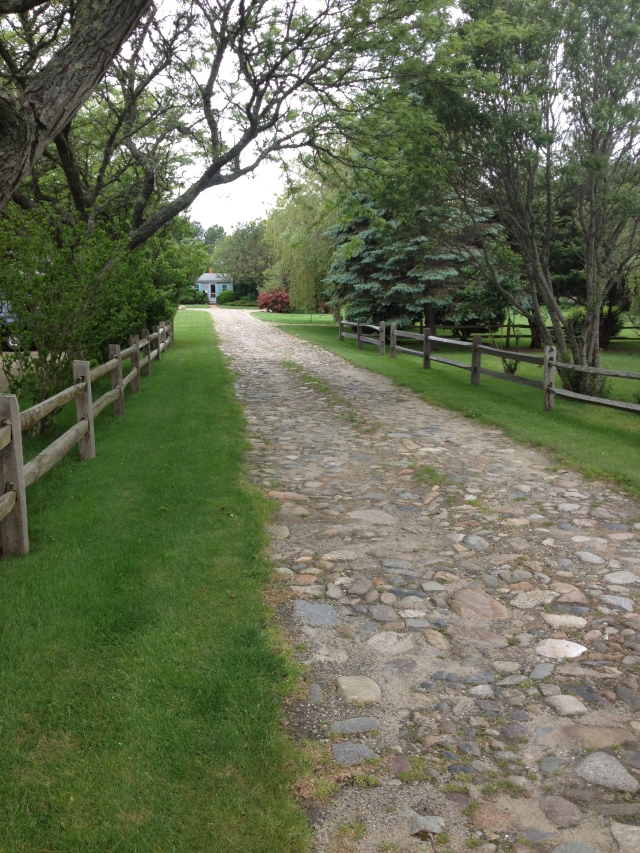
Nancy installed the cobblestones herself
A day or two later, off we went on our bikes. Nancy’s studio is down a long cobblestone drive that she installed herself (!!). It sits at the back of a large, lush lawn dotted with hydrangea and other flowers, just a few steps from the house she has lived in for about 50 years.
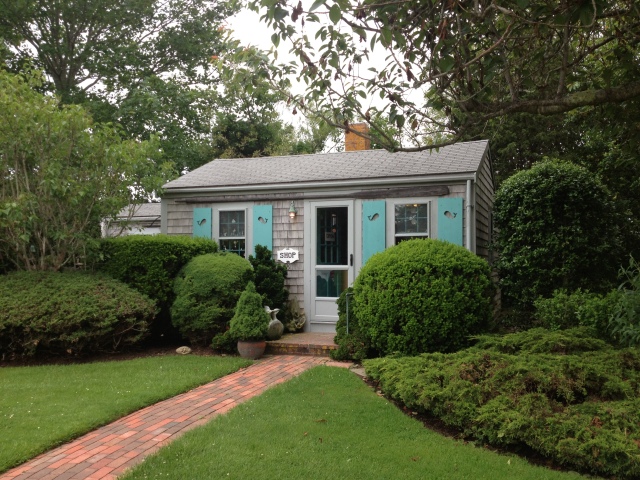
The studio and shop
Here’s a bit about Nancy from the Nantucket Historical Association:
For Nantucket native Nancy Chase, the venerable craft of scrimshaw is a living art form. She cut her first pieces of scrimshaw from part of a whale jawbone given to her by her grandfather, Warren Benson Chase. In 1952, she carved an ivory silhouette of Nantucket Island for the lid of her mother’s José Reyes lightship basket, and began supplying Reyes, one of the island’s foremost basket makers, with ivory whales and other designs for his lids. In 1962, she took the bold step of leaving the security of her position at the Pacific National Bank to embark on her dream of a life of full-time carving. She has been most celebrated in her career for her scallops, whales, and whirligigs. Chase has served for many years as a member of the Nantucket Historical Association’s board of trustees.
I thought going to the studio would be like visiting someone’s woodworking studio – like a garage with some tools. I was wrong. It was like stepping into a very personal museum. It was filled to the rafters – and I am not really exaggerating here – with not only Nancy’s work and the work of those she has trained, but also with her own personal collection of ivory carvings and scrimshaw that have been given to her by friends, family and admirers over the years.
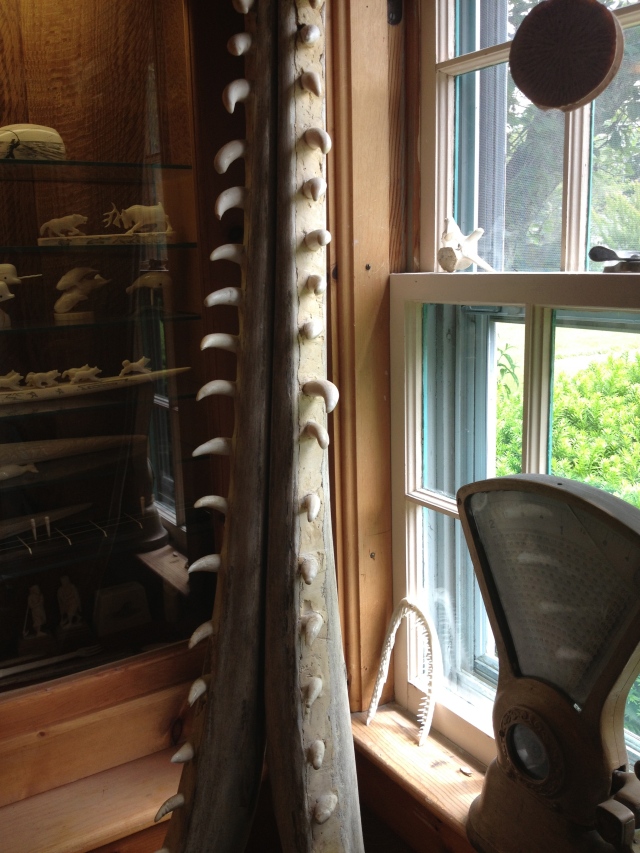
Whale jawbone waiting to be crafted
Also scattered about were the raw materials for making more carvings – elephant tusks, walrus ivory and whale teeth.
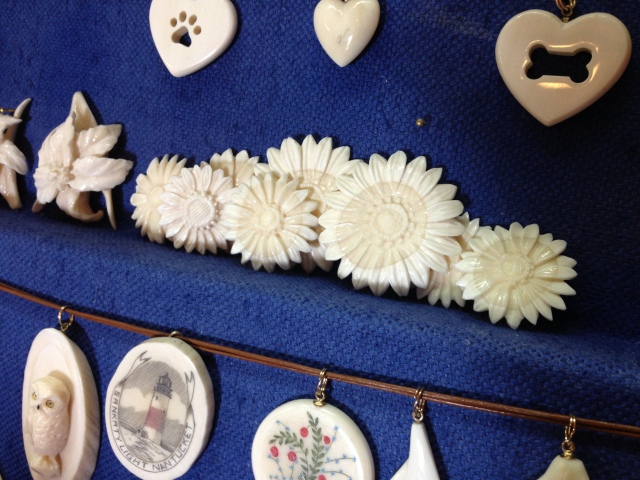
Carved basket tops and pendants
And let us not forget the things for sale – the most beautiful carved bracelets, boxes, figurines, pendants, earrings, keychains, Christmas ornaments, cane heads, and, of course, tops for lightship basket purses.
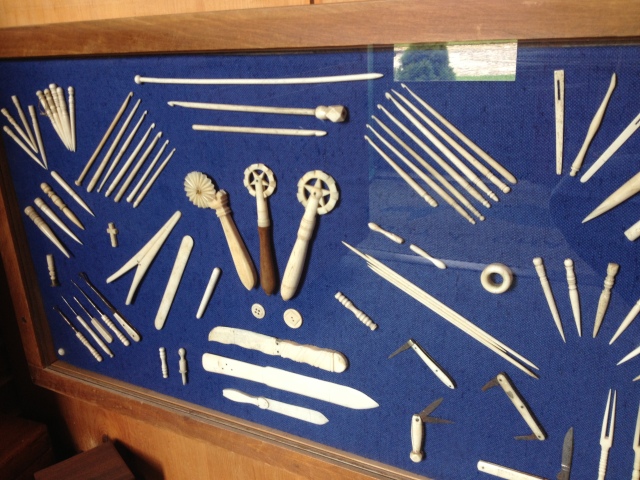
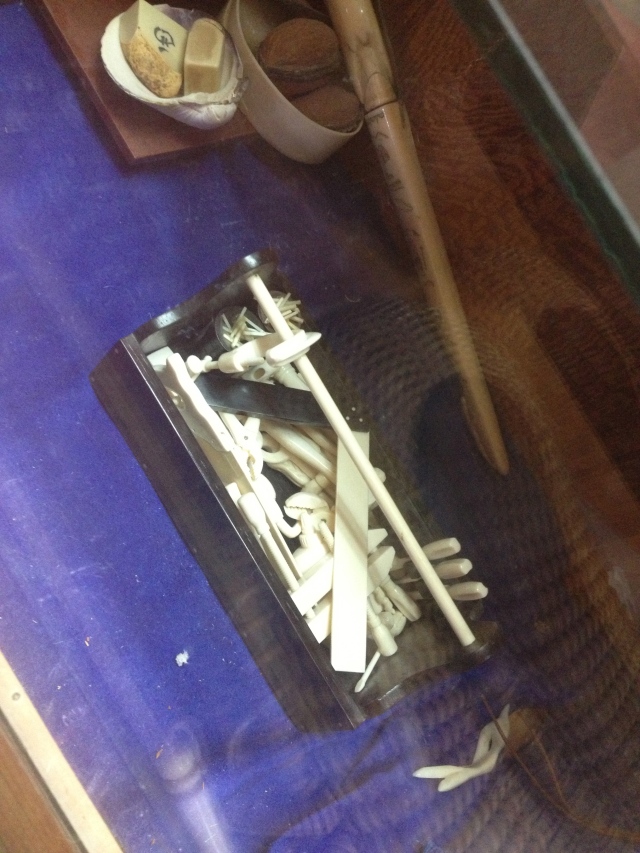
Display of knitting, tatting and crochet tools
It was dazzling. I walked around in the tiny space with my jaw open. I felt like I had stumbled into a cave of treasures, each one more fascinating than the last. I fell in love with a knitting needle – but alas, it was without a match.
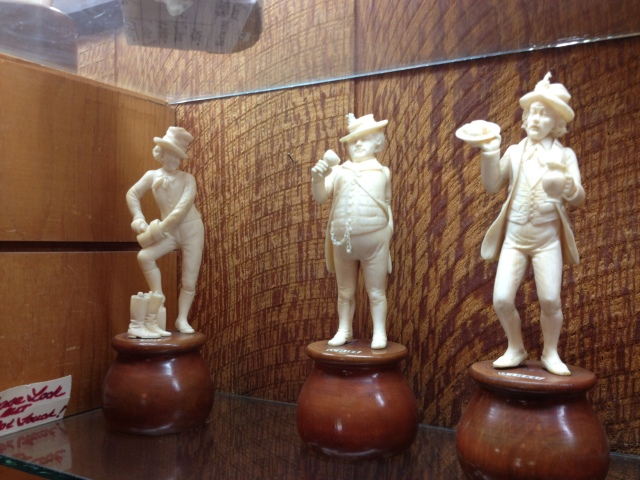
Dickens figures – look at the fabric – carved in the 19th century with no power tools
Ivory is not easy to come by. To read about the laws that govern the sale of ivory, go here. All of Nancy’s ivory is legal, already in the US and harvested before the current laws went into effect.
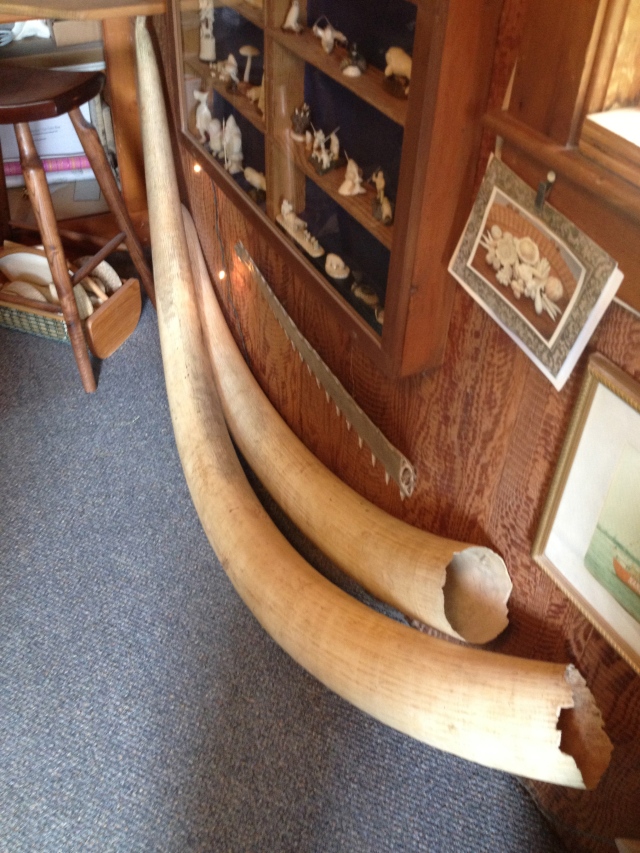
Elephant and walrus (?) tusks
We were shown around the shop by Teresa, a lovely woman Nancy and I suspect others has taught the art of scrimshaw – etching pictures in ivory. In the next room – the real workshop – Scott, another Nancy protege, was carving ivory figures. We could hear the drill and smell the hot ivory in the air. Really unusual smell.

More of Nancy’s personal collection – the workshop is on the other side of the glass
Terry and I spent about an hour – maybe more – in this tiny space looking at everything, asking a million questions, all of which Teresa answered with knowledge, grace and patience. She made us feel like we were the most important people in the world.

Pigs!!!
We wanted to buy one of everything – but we are not millionaires. Instead, we settled on a small scallop shell carved from sperm whale ivory. As the following Sunday was Father’s Day, I bought it for Terry (and failed to take a picture of it!).
A TOOLBOX FULL OF WORKING TOOLS!!!!! – C-CLAMPS, WRENCHES, HAMMERS, HAND DRILLS – ALL WORKING
What I love about visiting this studio and meeting Nancy is this – there are very few really indigenous American handicrafts, but the art of scrimshaw and carving on whale ivory is – I think – one of them. And here it is being practiced by the very descendants of the people who went to sea and faced the whales and created the craft onboard the ships. I know this sounds ridiculously romantic and overblown, but shaking Nancy’s hand was like an electric shock to me – I felt the connection going back to her whaling ancestors in a single, unbroken line. I am honored to have met her.
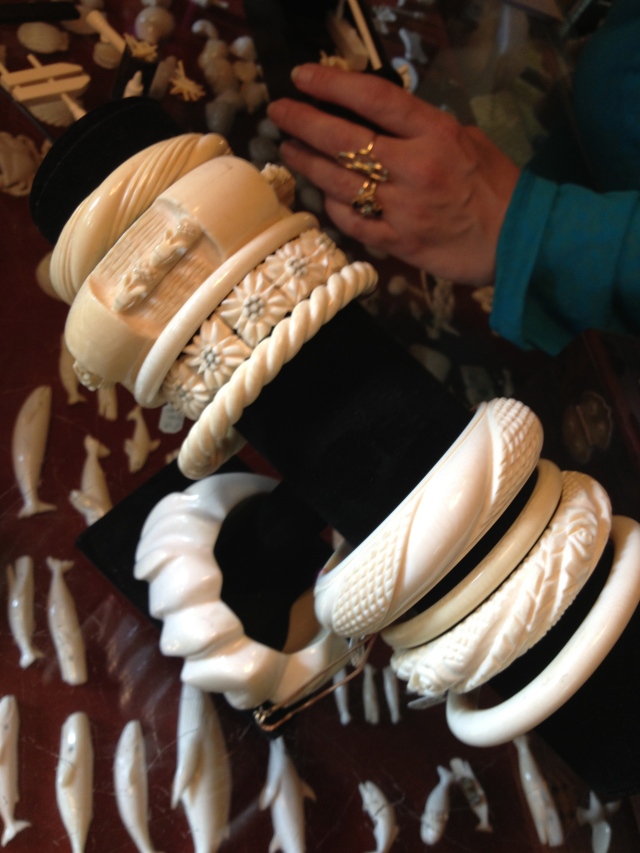
The bracelets!!!
We’ll revisit Nancy’s studio every time we come to the island, and hopefully begin our own collection.